Have you ever been in the middle of sketching a brilliant idea or jotting down an important note, only for your Apple Pencil to suddenly stop working? It's a rather frustrating moment, isn't it? That feeling of your creative flow being cut short because the device you rely on has run out of power can really throw you off. You might be wondering, quite naturally, about the best ways to get it back up and running, especially since keeping your tools ready for use is so important for productivity and enjoyment.
Making sure your Apple Pencil is always charged and ready for action means you can truly make the most of your iPad experience. Whether you're an artist bringing digital canvases to life, a student marking up lecture notes, or someone who just enjoys the precision of a stylus for everyday tasks, a dead pencil is, well, a bit of a problem. Knowing the proper steps for charging helps avoid those annoying interruptions.
This article will walk you through the simple steps of how to charge the Apple Pencil, covering different models and offering some helpful tips to keep your creative companion powered up. We'll look at the various ways to give your device that necessary boost of electricity, ensuring it's always prepared for whatever you need to do, virtually at any moment.
Table of Contents
- Understanding Your Apple Pencil Model
- Charging the Apple Pencil (1st Generation)
- Charging the Apple Pencil (2nd Generation)
- Quick Charging Tips for Your Apple Pencil
- Troubleshooting Common Charging Issues
- Frequently Asked Questions About Apple Pencil Charging
- Keeping Your Apple Pencil Ready
Understanding Your Apple Pencil Model
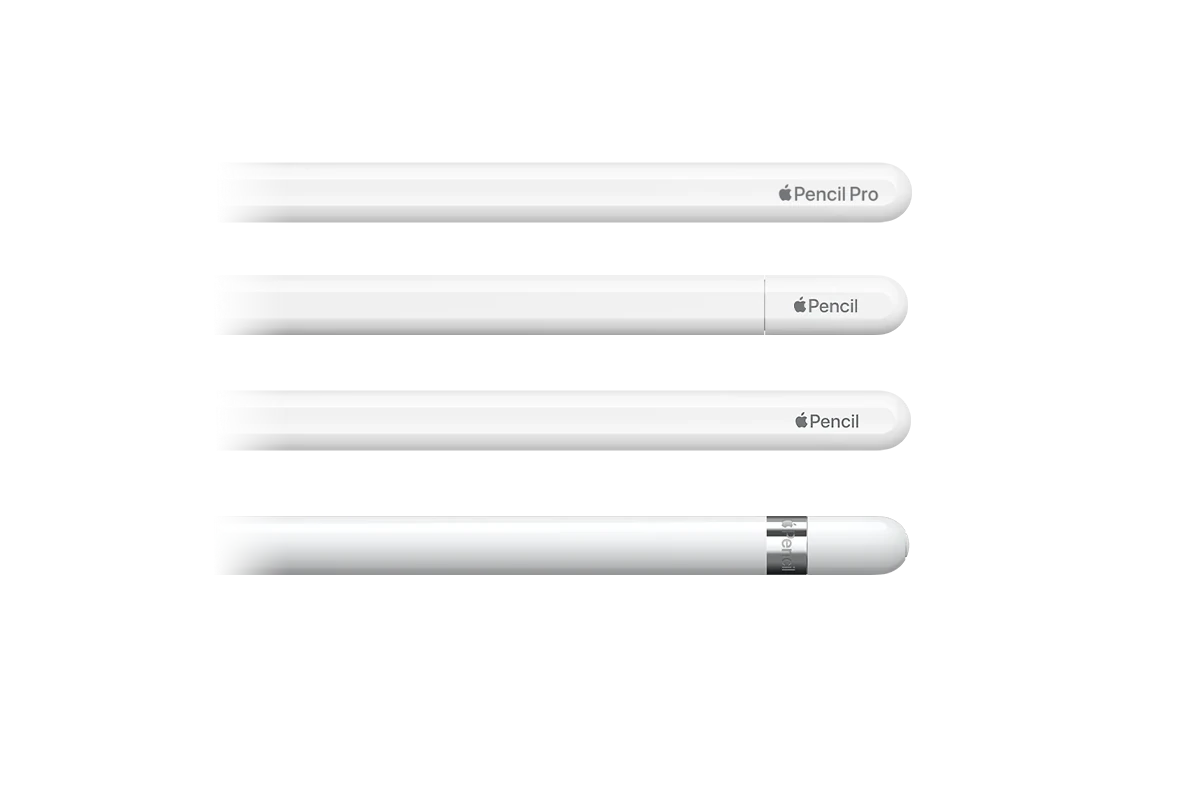
Before we get into the specifics of how to charge the Apple Pencil, it's pretty helpful to know which version you have. Apple has, you know, released a couple of different models, and each one charges in its own special way. The original, the 1st Generation, and the newer, 2nd Generation, have distinct charging methods. Knowing which one you own means you can use the right approach to put electricity into its battery so that your device will run, just like you'd expect.
Typically, the 1st Generation Apple Pencil has a glossy finish and a removable cap on one end. The 2nd Generation, on the other hand, usually has a matte finish and a flat side that lets it attach magnetically. If you're not sure, you can always check the original packaging or look up your iPad model, as certain iPads only work with a specific pencil generation. This simple check, you know, makes all the difference when it comes to figuring out the best charging method.
Charging the Apple Pencil (1st Generation)
The 1st Generation Apple Pencil has a couple of ways it can get its power, and both are fairly straightforward, so. This model, which many people still use, relies on a Lightning connector, a familiar sight for anyone with older Apple devices. You might find yourself needing to give it a quick charge before a big project, and these methods are quite efficient for that purpose.
Direct to iPad Charging
One of the most common ways to charge the 1st Generation Apple Pencil is by plugging it directly into your iPad. This method is, in a way, quite convenient because you don't need any extra cables or accessories. You just remove the cap from the end of your Apple Pencil, and you'll see a Lightning connector. Then, you simply insert this connector into the Lightning port on your iPad. It’s the same port you'd use to charge your iPad itself.
When you connect it, your iPad will begin to send electricity to the pencil, essentially giving it a fresh supply of power. You'll often see a small battery icon appear on your iPad screen, showing the pencil's current charge level. This direct connection is really good for a quick top-up, especially if you're, like, on the go and don't have other charging options. It's a pretty quick way to get some power into the device, letting you get back to your tasks without much delay.
However, it's worth noting that when the pencil is plugged directly into the iPad like this, it sticks out a bit. This means you need to be a little careful not to accidentally bump it, which could put stress on the port or the pencil itself. It’s definitely a functional way to charge, but perhaps not the most elegant for long-term charging sessions. Still, for a rapid boost, it's an excellent option to consider, you know, when time is a factor.
Using the Lightning Adapter
Apple also includes a small adapter with the 1st Generation Apple Pencil, which provides another way to charge it. This little piece of equipment, a tiny female-to-female Lightning adapter, lets you charge your pencil using a standard Lightning cable. This is a very useful alternative if you prefer not to have your pencil sticking out of your iPad, or if your iPad's port is already in use, or just, you know, if you want to charge it separately.
To use this method, you first take off the cap from your Apple Pencil, revealing its Lightning connector. Then, you plug that connector into one end of the small adapter. On the other end of the adapter, you connect your regular Lightning to USB cable, the kind you might use to charge your iPhone. Finally, you plug the USB end of that cable into a power adapter or a computer's USB port. This setup then starts to put electricity into the pencil, allowing it to gather the power it needs.
This method offers a bit more flexibility, as you can charge your pencil from any wall outlet or USB port, rather than relying solely on your iPad. It’s a good option for charging overnight or when you're at a desk and have access to a power source. Many people find this way of charging a bit more secure and less prone to accidental knocks. It’s, like, a solid choice for keeping your pencil ready without tying up your iPad's port.
Charging the Apple Pencil (2nd Generation)
The 2nd Generation Apple Pencil brought with it a rather sleek and integrated charging method, a significant change from its predecessor. This design choice makes charging much more seamless and, in a way, more intuitive for users of compatible iPads. It's a method that really highlights the convenience of modern accessory design, so.
Magnetic Attachment to iPad
For the 2nd Generation Apple Pencil, charging is truly effortless, honestly. You simply attach the pencil to the magnetic connector on the side of your compatible iPad Pro, iPad Air, or iPad mini. This magnetic strip is usually located on the longer side of the iPad. When you bring the pencil close, it will snap into place with a satisfying click, and the charging process begins automatically. It's a very neat solution that integrates the charging experience directly into how you use the device.
As soon as the pencil is magnetically attached, your iPad starts to give it electricity wirelessly. You'll typically see a small battery indicator pop up on your iPad's screen, showing you the pencil's current charge level. This